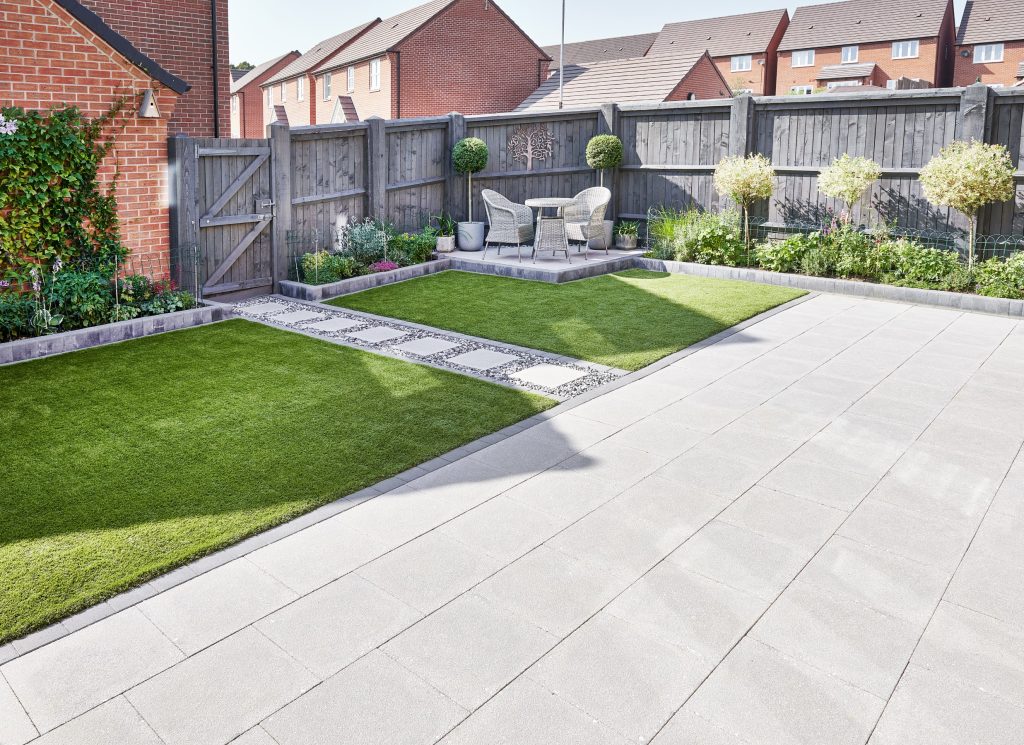
Brett products consist of beautiful paving ranges, with paving slabs crafted to create your perfect patio. But like any design project, you should consider a number of important factors before you begin. Here, we will tell you the steps of how to install a patio.
What do I need to install a patio?
Materials: Sub-base material (MOT Type 1), Brett building sand, Cement, Paving flags
Tools: Trowel, Pointing iron, String line and pegs, Edging iron, Rubber mallet, Builders square, Rake, Shovel, Spirit level, Skip, Wheelbarrow, Pick axe, Tape measure, Yard broom, Vibrating plate compactor, Diamond disc cutter (Optional), Mini-excavator (Optional), Cement mixer (Optional)
Personal Protection Equipment Gloves, Safety Goggles, Dust Mask, Ear Defenders, Knee Pads and Safety Shoes.
Before you start installing your patio
Draw a simple plan of your home and garden, sketching where you would like areas to be paved. Once your plan has been finalised, lay out lengths of string to mark out the dimensions of your purposed patio in position. Once you’re satisfied with your patio layout, you can begin.
Step 1: Prepare your garden
Mark the pegs beforehand to indicate the depth and remember to allow for a gradual slope away from your property. Using a tape measure, mark out the patio area. Check the corners, using a builder’s square. Removing topsoil is easily done using an edging iron and cutting the turf into manageable squares. Simply scoop with a spade and remove using a wheelbarrow and skip.
The excavated depth should be 150mm or 6 inches from the finished patio level. Measure the final depth of excavation using the pegs and strings.
Check the depth at the edge using a tape measure. Compact the soil with the Vibrating Plate Compactor and re-check the overall depths and slope of the area using the pegs and spirit level.
If you find soft spots in the soil, further excavation may be required. These spots can then be filled and consolidated with sub-base material.
Check all 90° corners and depths thoroughly before putting down the sub-base material.
Step 2: Creating the right depth of sub-base for your patio
Having tipped the sub-base material into the laying area, rake into position to a consistent depth of 100mm or 4 inches.
Once the area is covered, check the depth using a spirit level, pegs and string line.
Compact the area using a Vibrating Plate Compactor, making sure the entire area has been compressed at least twice. Check again for any sinking areas. If this occurs, an extra depth of sub-base material should be considered.
Once the sub-base is smooth, flat and to the appropriate level, check the drainage slope with a straight edge and spirit level.
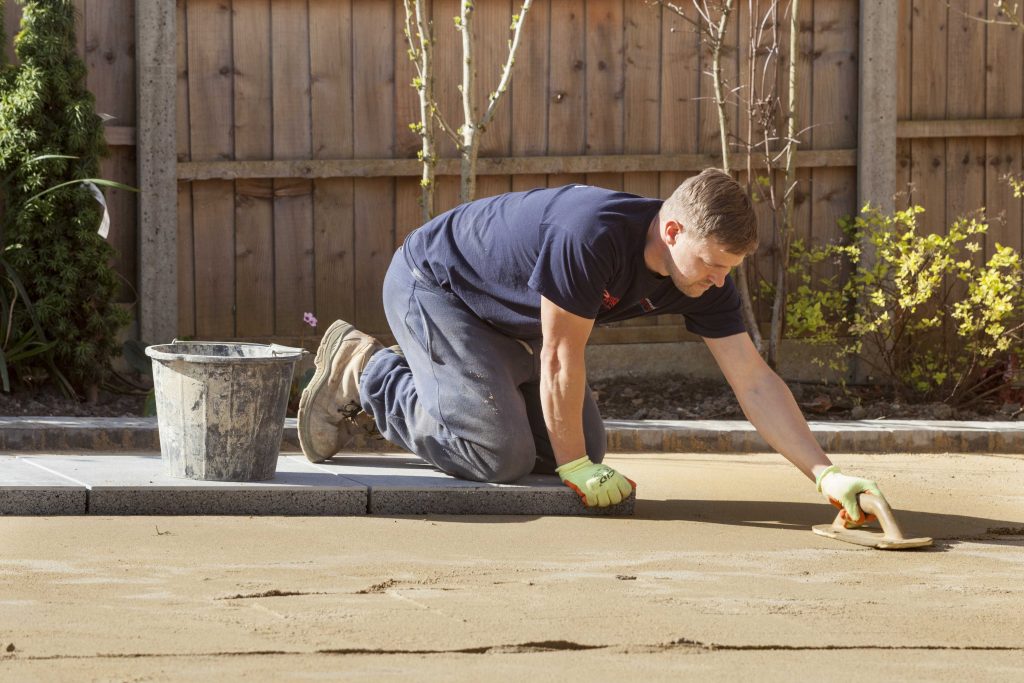
Step 3: Preparing the mix and how to lay paving slabs
When preparing the cement mix, please avoid direct handling of cement, always wear the correct gloves to protect your skin.
Either using the cement mixer or wheelbarrow and shovel, prepare a mortar mix of 5 parts sharp sand, 1-part cement and add water to create a plastic consistency.
To check this is correct, use the ‘snow ball’ test, pick up a handful of mortar mix and squeeze into a ball, when you let go the mix will retain its shape without oozing water or falling apart.
Starting in the corner, trowel a bed of mortar to cover the area intended for the first paving flag. The depth of the mortar bed should be approximately 35-40mm. Level off but ensure the mortar is not compact as you want the flag to sit within the mix about 10-15mm deep.
Remember, when lifting and carrying paving units, always consider the weight before attempting to lift. If it is heavy, sought the help of an extra pair of hands. Take care not to trap fingers whilst handling paving units.
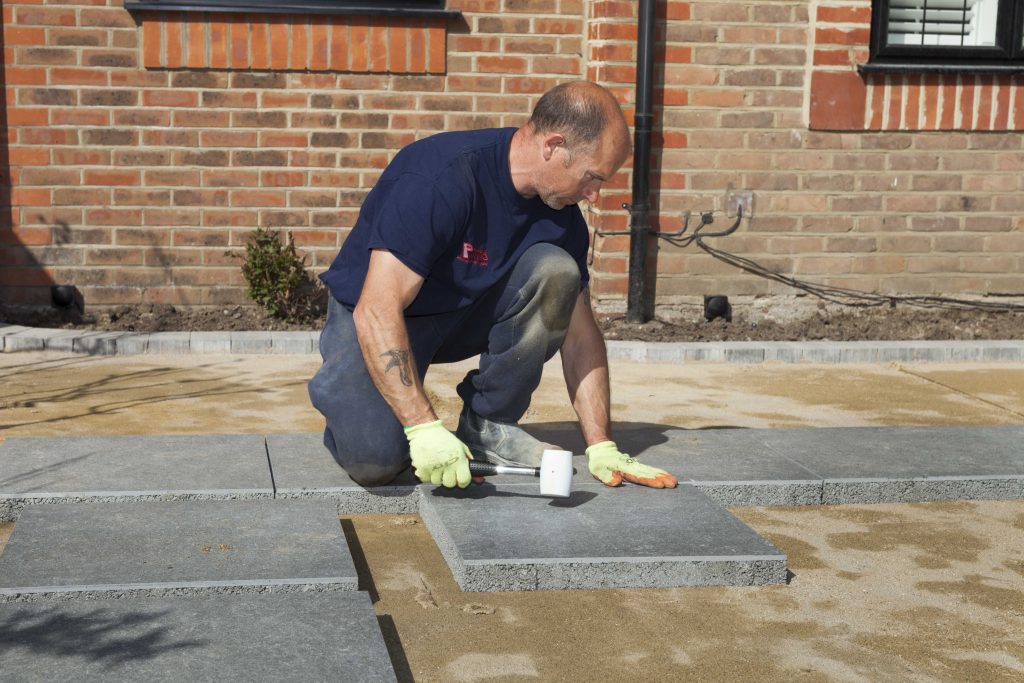
Lower the first paving flag into position, holding it diagonally will make it easier to lower it. Settle it cleanly into the mortar, without sliding it about, so that a good bond forms between the mortar and paving flag.
Line up the paving flag with the string lines and gently tap it into the mortar using the rubber mallet.
Repeat the process, continuously checking against the string line. Also, use the spirit level to check the surface is at the correct level.
To check that the edges aren’t standing proud, simply run your hand over the joints. Ensure gaps are consistent, ideally there should be 10-15mm between the slabs.
Leave the slabs for at least 24 hours so that the sand and cement mix can set.
Step 4: How to point your patio
You can either buy ready-mix compound or, using the shovel and trowel, prepare a jointing mix of 5 parts building sand, 1-part cement and water to a damp, semi-dry consistency.
Firm it into the joints using the trowel and finish with the pointing iron, compacting the mix into the gaps and producing neat grooves.
Carefully remove any excess pointing material using the trowel and yard broom, ensuring no residue is left on the slab surface.
And there you have it, four simple steps on how to install a patio. Now you know how, why not take a look at our collection of paving slabs to find the perfect product for your garden. All of our paving products can be purchased through our network of builders merchants and retailers. If you require any further support, contact our Customer Service team on 0845 60 80 570.
Sign up to our newsletter for our latest offers & inspiration